Anebula is reader-supported. When you buy through links on our site, we may earn an affiliate commission.
This guide is part of the How to host multiple sites on one virtual machine with Docker series where you learn how to create a virtual machine (VM) that is home to multiple websites and apps. In the series, we will host a WordPress blog, a Ghost blog, a Matamo Analytics app, and a lot more!
Disclaimer: I am not affiliated with Namecheap in any way and I don’t profit from sign-up links or anything like that – I’m simply a happy customer that has been buying domains from them since 2014. I’m also a happy customer of Porkbun, but I’ve been with them for less time. Now onto business…
A domain is the first step in branding your app, it’s what people type into the address bar. What are some example domains? google.com, yahoo.com, and anabula.com….all websites have domains.
We will be buying our domain name from a Domain Name Registrar, this is where we can search for available domain names and purchase the rights to the name for a certain period of time. For example, we can buy a domain name TestTest482.com for $9.58 per year.
You have options when buying a domain. You can buy any name that is available and you can also select a different TLD or top-level domain. TLD examples: .com, .io, .dev, .biz.
Step 1: Think of a name for your website
To come up with a domain name idea I suggest writing down words relating to your topic and then trying different combinations of those words since as you’ll find out, a lot of the popular domain names are already taken.
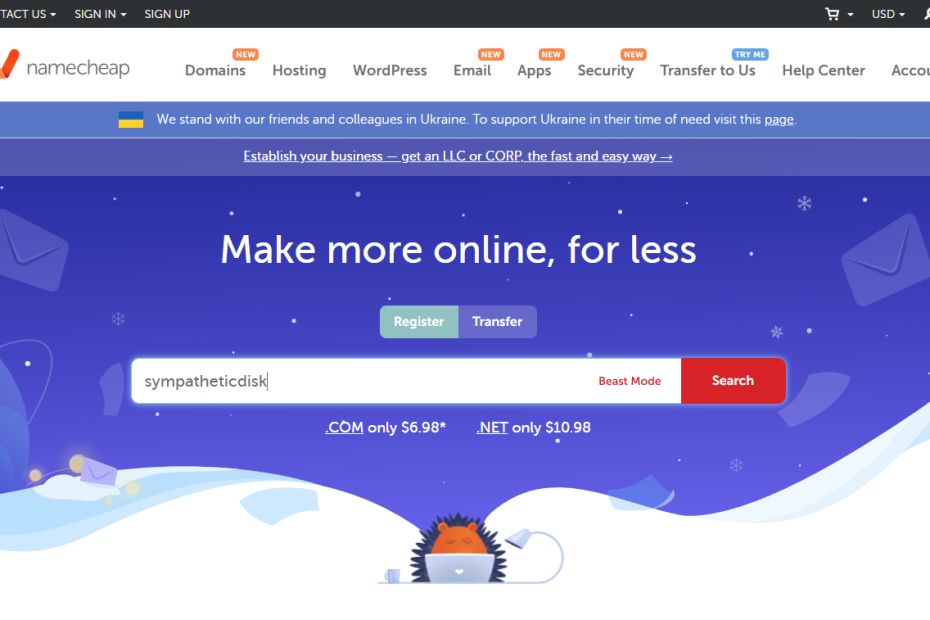
In my example, I want the domain name to be “sympatheticdisk”, but I’m flexible on the TLD so I’ll search for “sympatheticdisk”.
Notice the results have different TLDs – symphateticdisk.com, symphateticdisk.net, symphateticdisk.org, symphateticdisk.ai
My fictional blog will provide info so I’m going to scroll down to symphateticdisk.info and click Add to cart
Step 2: Purchase domain
From here you can ignore all add-ons and click Checkout
On the checkout page, the defaults are good. You can buy multiple years if you want, sometimes I buy more than one year at a time if I plan to use the domain for a long time.
Domain Privacy you want so that people can’t look up your personal info based on the domain.
Confirm order will take you to the login page if you are not already logged in. Either log in or register for a new account. Then you will be redirected to the payment details page where you’ll need to enter a valid payment method.
On the order review page, review the details and click the Pay Now button if it looks good. I like Namecheap because they don’t auto-enable add-ons that are not needed – I didn’t change any defaults after clicking Add to Cart.
Then your order will process and you should get a confirmation message.
Step 3: Update nameservers
After purchasing a domain name, we can update the nameservers.
A nameserver is a server that associates a domain name with an IP address. We will be using Cloudflare as our nameservers. For example, my domain name symphateticdisk.info will point to a Cloudflare IP which will mask my true VM IP running on Digital Ocean.
On the order confirmation page, scroll down and click on Manage, this will take you to the domain name manager where you can edit settings.
Scroll down to the NAMESERVERS dropdown and click on Custom DNS
Stop here for a minute because we need to register with Cloudflare to know what nameservers to put into Namecheap. Continue here with the next part – Part 2: How to set up a site with Cloudflare DNS
